This post contains affiliate links. If you buy through these links, I may earn a small commission.
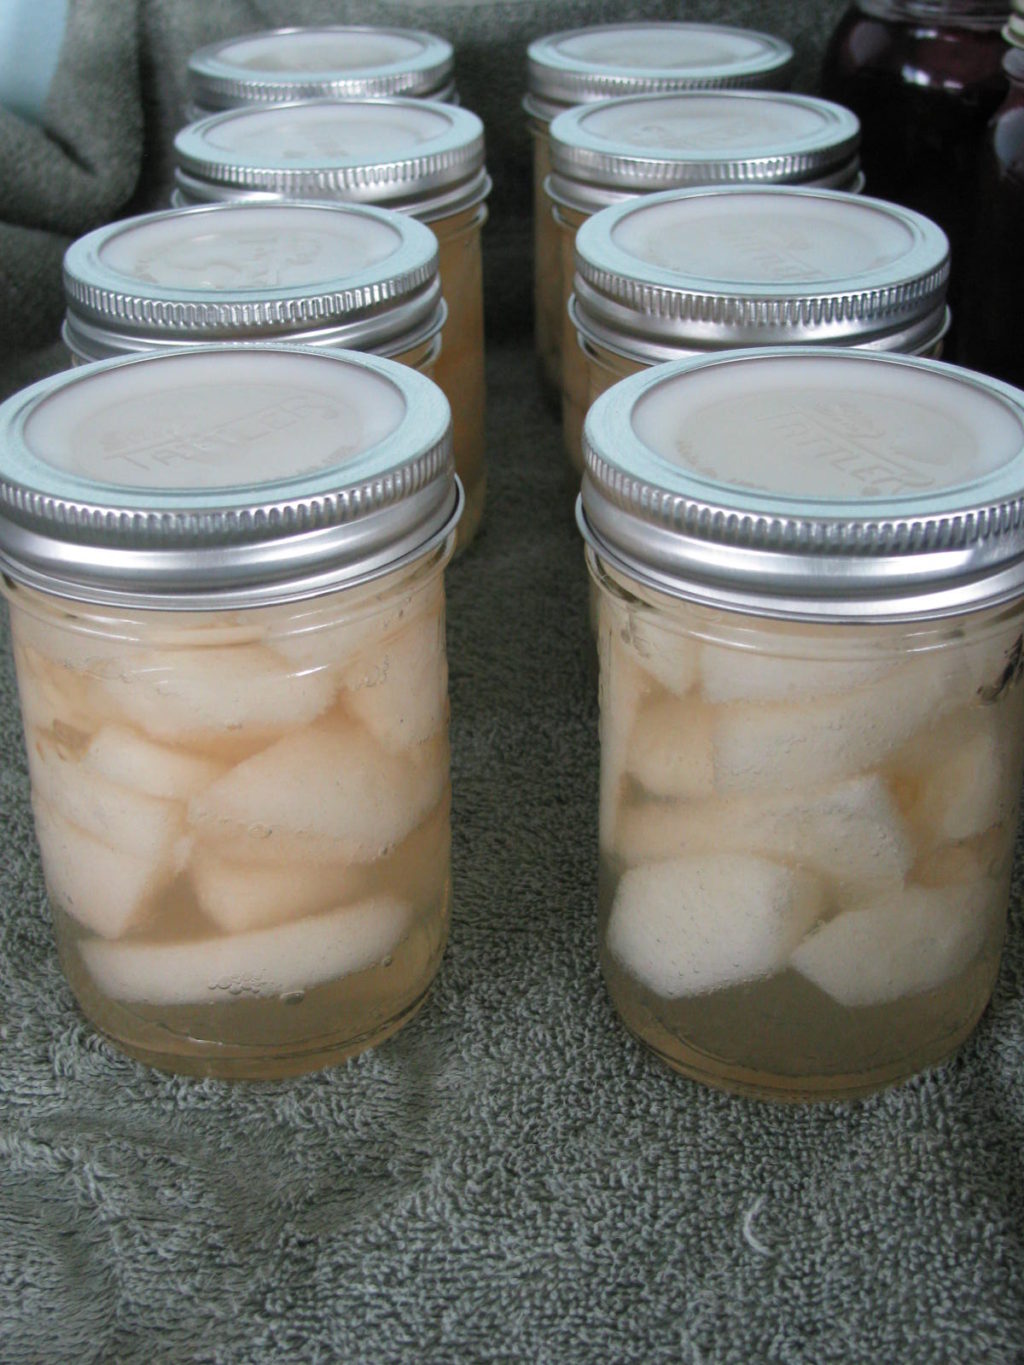
I love using Tattler lids and seals. Instead of having to buy new canning seals every year, I can reuse the Tattler seals. There are people who have been using the SAME seals for over 20 years. Now that is impressive.
They are made in the USA so you can buy them knowing that you are supporting an American company. They are also BPA free, with FDA approved materials.

Using Tattler lids and seals is a bit different than using those metal seals.
Even though the instructions state that you are supposed to screw the band on LOOSELY before processing, people have not been doing this. Apparently, they are over tightening the band.

In light of this, Tattler has put out new instructions. If you are home canning your own food for your family, it is up to YOU to ensure you are doing everything correctly and “by the book”.
Would you home can food that has spoiled? No of course you wouldn’t!
Would you just reuse dirty jars for a fresh load of canning? No of course you wouldn’t!
You do everything you can to ensure that your home canning is as safe as it can possibly be. There is no such thing as being “too anal” when it comes to canning.
Months after canning, when I go to open a jar of Asian Pears, I want there to be NO doubt that the food in that jar is safe to feed my family.
So, when you are using the Tattler Lids & Seals, be sure to FOLLOW their instructions exactly.
Here’s the instructions – be sure you follow them!

Tattler Reusable Canning Lids – Instructions for Use
1. Inspect top of jar for cracks and nicks.
2. Wash, rinse and sterilize jars. Scald lids and rubber rings. Leave in water until ready to use.
3. Fill jars as indicated per canning instructions for that food type.
4. Wipe top of jar after filling. Place lid and rubber ring combination on jar.
5. Screw band on jar loosely. Center lid on jar and hold in place with finger while tightening the metal screw band finger-tip tight.
DO NOT OVERTIGHTEN. Product must be allowed to vent during processing.

6. Process as per instructions for various foods.
7. TIGHTEN METAL BAND FIRMLY IMMEDIATELY UPON REMOVAL FROM CANNER.
8. When jars have cooled, remove metal band and lift gently on the lid to determine if any failure has occurred. Sealed jars may be stored without metal bands if desired.
9. When removing lid, gently insert dull side of table knife (or similar object) between rubber and lid or jar to release the seal – DO NOT USE SHARP KNIFE.
10. Wash plastic lids and rubber rings, rinse, dry and store for future use. Do not save any rubber ring which is cut or deformed.

Want to read about how I canned pears using Tattler lids and seals?
Does the idea of pressure canning scare you? Read about how to use a pressure canner – then get started! Fill your pantry with jars of healthy homecanned food.

Want to find out which are The 5 Easiest Vegetables to Grow?
Grab the free download available only to subscribers!